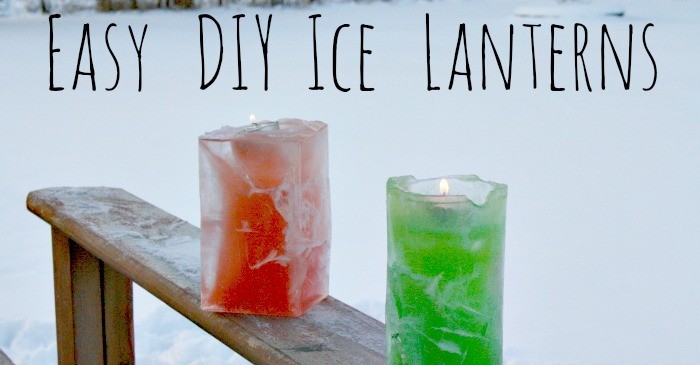
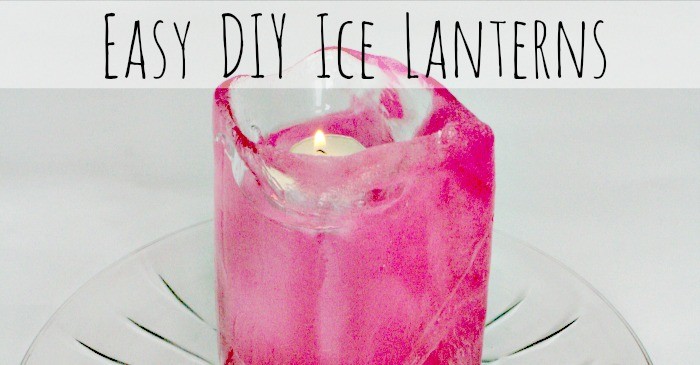
These Eco-friendly decorations will light up any event! Make your own crazy colorful DIY Ice Lanterns entirely for free out of recyclable materials, water and hey, why not go all out and use natural food coloring while you’re at it?
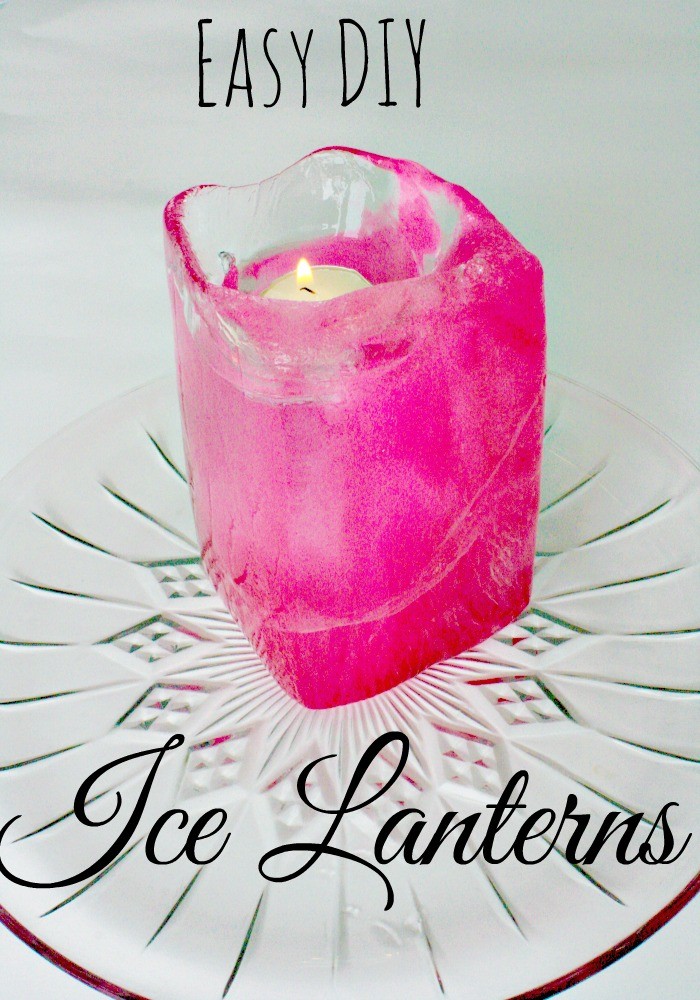
You’ll Need
- Used juice / milk cartons and jugs (for the base of the lantern)
- Used apple sauce / yogurt containers (for the well in the lantern that holds the candle)
- Water
- Food coloring (see my tips on making your own below)
- Masking tape
- Sciossors
- Freezer
- Tea light candles or small votive candles
Note: allow your lanterns about 24 hours to freeze solid
Instructions
Wash and rinse all the containers.
Slice the top off of the cartons and / or jugs.
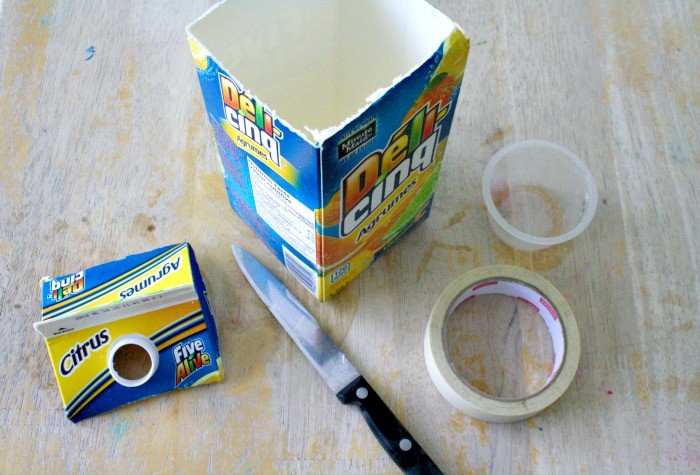
Fill the larger containers with water.
Add food coloring to your liking. We mixed ours a lot to get many different shades. Did I mention that we got kinda hooked making these?
If you want to make your own natural food coloring – it’s super easy. You will need about 1/2 cup of pure juice, gently boiled down or reduced to a thick paste – probably about 30 ml or 2 tbsp. Use beet or pomegranate juice for red coloring, carrot or mango juice for yellow and red cabbage or blueberry juice for blue.
Take the yogurt or apple sauce cup, sink it into the water, and secure in place with masking tape. Do this part over a clean sink. Place it in the freezer and allow the lantern to freeze solid, at least 24 hours.
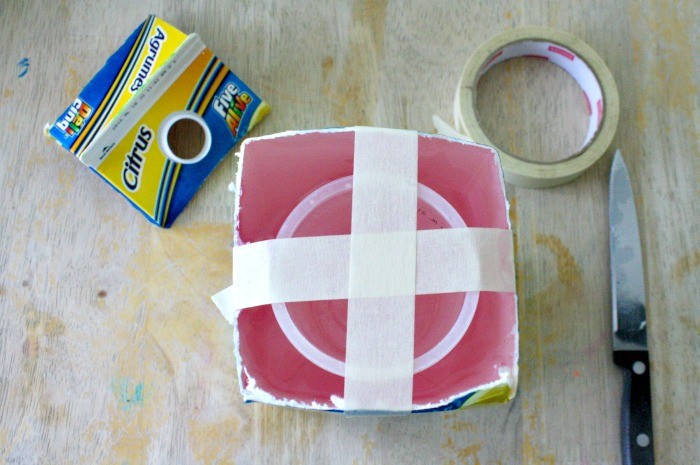
Remove from the freezer and place it in the sink. Remove the tape, and pull out the yogurt or apple sauce cup. You can add a tiny bit of hot water if it won’t budge – but don’t over do it.
Remove the lantern from the jug or carton. Just peel off the carton, knowing you got one more wonderful use out of it before it’s off to the recycle bin.
Place your lantern back in the freezer until you’re ready to use it.
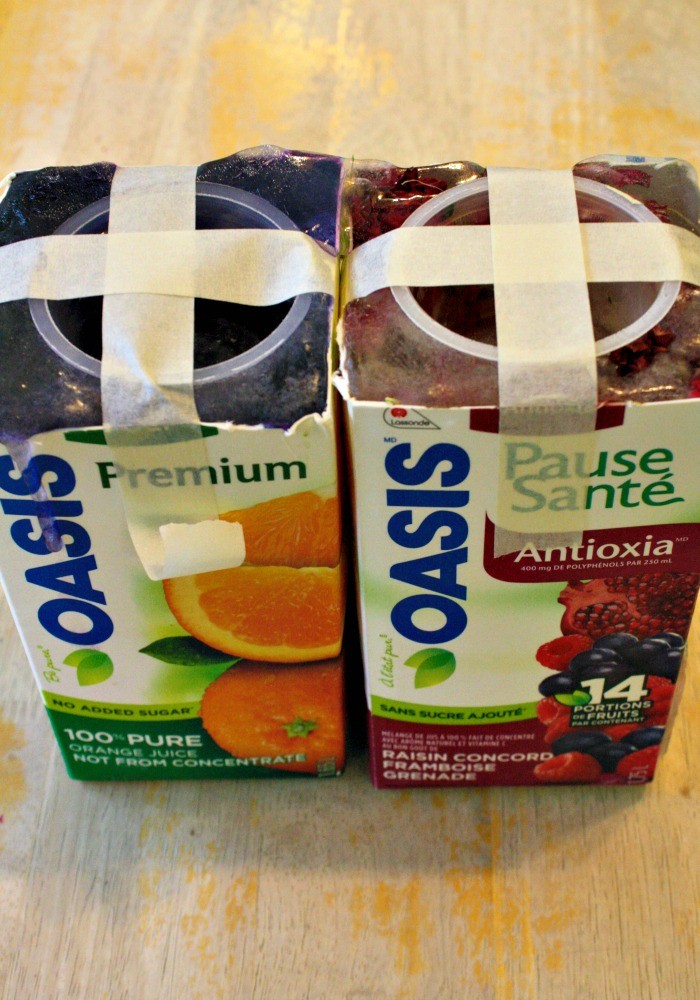
Using your Colourful Ice Lantern
These are lovely additions to any outdoor party or gathering. They make a lovely thoughtful addition to a romantic date night, or a fun table feature at a birthday party or brunch.
I have several on my deck outside, and they have lasted over three months – but we have winter here, in a big way.
To use indoors, they should last for a few hours at room temperature with a candle lit. Keep in mind that they will melt, so it’s best to use them on glass, metal or plastic serving trays or similar.
Get Green Crafty & Creative (these are affiliate links)
If you enjoyed this post, you will love our book, Green, Crafty & Creative. Featuring 70 family and environmentally-friendly tips, crafts and activities from 10 different contributors, it is full of awesome inspiration for Earth Day fun. Green, Crafty & Creative is available for purchase in e-book, paperback and Kindle formats, starting for as low as $4.99.
Thanks for having me, Eve @ Nemcsok Farms
Terri Oliver Steffes says
Those are so cute and if winter lasted any time at all here in Missouri, I would love to have those in my back yard! Thanks for the tutorial, I loved it!
Lori says
So pretty and easy. It made me think of another container, a wallpaper tray, with about six yogurt containers and you would get one of those long table centerpiece candles that I love. You could make it last a bit longer indoors if you used battery candles.